Welcome

Welcome to Self Soul Space! This blog is designed to bring you healthy lifestyle tips. A true healthy lifestyle, embodies a healthy mind, body, spirit, and environment. Thanks for stopping by to check out my way of living.

Wednesday, January 29, 2014

Oh No... Cramp!

*#?<+$&@... All of a sudden... Cramp!  A painful cramp can sneak up on exercisers of any experience level. But these spasms are usually avoidable and easily curable, thanks to tips like these:

Loosen up a little. Prepare your muscles for each workout by walking, riding a stationary bike, or hopping on the elliptical for 5-10 minutes.  Also, stretch after every workout.

Stay hydrated. Don’t wait until thirst strikes, usually by then you are already dehydrated. Drinking at least 8 cups (8 ounces each) of water everyday strikes the right balance for most people. Have water before, during, and after each workout to supply your muscles with enough nutrients and minerals. Many foods also add hydration, especially fruits like apricots, apples, citrus, and papaya and vegetables like carrots, celery, cucumbers, lettuce, and squash.

Add potassium. If you’re planning a vigorous workout or run longer than 1 hour, consider snacking on foods rich in this essential mineral/major electrolyte. Good sources include avocados, bananas, oranges, and tomatoes.

Stop when you feel pressure. When a cramp strikes, stop and gently stretch the affected area, sometimes massaging the area helps too. Fatigue could also be a cause, if so, try resting and finishing your workout later.

Muscle cramps usually disappear on their own and are rarely serious enough to require medical care. However, please see your doctor if your cramps:
  • Cause severe discomfort
  • Are associated with leg swelling, redness or skin changes
  • Are associated with muscle weakness
  • Happen frequently
  • Don't improve with self-care & stretching
  • Aren't associated with an obvious cause, such as strenuous exercise
Hope these tips help to prevent your muscle cramps!!

Monday, January 27, 2014

Smoothie Recipe: Carrot Berry Smoothie

We love smoothies in this family... I'm sure I've mentioned it before.  Here is a new smoothie recipe from Chef Jordan.  The kids love to get creative in the kitchen.  So, I try to set my OCD aside, and let them go to town!  I hope you enjoy this smoothie as much as we did!

Carrot Berry Smoothie
Makes 2 adult smoothies, or 1 adult & 2 kid smoothies

Ingredients
1 6oz 0% Peach Chobani Greek yogurt
1 tbs ground flax seed
12 baby carrots
1/4 cup blueberries- frozen
1/2 cup pineapple chunks- frozen
1 cup mixed berries- frozen
1 cup water (slightly warm)

Directions
Add yogurt, flax seed, carrots to a blender and liquefy.  Then add fruit and water, blend until desired consistency.  Pour and enjoy!!

Friday, January 17, 2014

Improve Your Posture

Teaching yoga and one being pregnant, I have become more aware of my posture... And others' as well.  It's something so simple, who thinks about it. I mean, you’ve learned to stand and walk since you were a baby. But even after all these years, it’s possible to learn new techniques and ways to improve your posture. Though it may seem unnatural at first, the benefits of improving your standing or walking posture are better body function/efficiency and fewer aches/pains... I think it's worth altering your stride a little, what about you?

Here are some helpful tips:

  1. Keep your chin up. Your head should be upright and your chin parallel to the ground. Look forward (about 10-20 feet ahead). When you must look down, use your eyes not your neck.
  2. Stand up straight. The advice you heard as a youngster still rings true: Don’t slouch. When you’re properly aligned, you could draw a straight line from ear to ankle with your neck and back also straight, yet relaxed... Relax your shoulders too (down and away from ears)
  3. "Let me see your footwork". Hit the ground with your heel and push off with your toes. Avoid over-striding by taking shorter steps and a steady pace.
  4. Don’t flail. Keep your arms near your body at waist level and bent 90 degrees (this goes for running too); the forward swing of one arm should match the forward swing of the opposite leg. Have your fingers naturally curled but not clenched.
  5. Lighten and balance your load.  If you are carrying a bag, or pulling a suitcase... Remember to keep your body balanced. And don't over stuff whatever you are carrying.  Most of the time you don't need 'everything' in your bag anyway.  

Here's some food for thought from Morihei Ueshiba, “A good stance and posture reflect a proper state of mind.”

Tuesday, January 14, 2014

Apple Muffins

During the fall, we went apple picking 2 different times.  So, I was looking for new ways to use up all of the apples.  I stumbled upon this Food Network recipe from Ellie Krieger.  Apple Muffins... I had to modify it some because the original recipe called for pecans and buttermilk, I omitted the nuts and swapped the buttermilk for plain Greek yogurt, and they still turned out awesome.  The girls even shared some with their teachers for am snack, they loved them as much as we did!!  And since apples are a awesome fruit that keeps well during the winter, I have stocked up on them again.  So, the girls and I are making Apple muffins as I type.  I hope you enjoy these yummy muffins too!!

Apple Muffins
Makes 12 muffins, Time 55 min (15min prep)

Ingredients
Cooking spray or muffin/cupcake liners (I don't use cooking spray)
1/4 c chopped pecans (omitted)
3/4 c plus 2 tbs packed brown sugar
1/2 tsp ground cinnamon
1 c all-purpose flour
1 c whole wheat flour
1 tsp baking soda
1/2 tsp salt (I used kosher)
1/2 tsp apple pie spice (my addition)
1/4 c canola oil
2 large eggs
1 c natural applesauce (no sugar added)
1 tsp vanilla extract
3/4 c low-fat buttermilk (I used 0% plain Chobani Greek yogurt)
1 apple, peeled-cored-cut into 1/4" pieces (I used pink lady apple)

Directions
Preheat oven to 400 degrees. Coat 12-capacity muffin pan with cooking spray, or line with muffin liners.
In a small bowl, mix together pecans (I omit), 2 tbs brown sugar, and 1/2 tsp cinnamon, set aside.
In a medium bowl, whisk together both flours, baking soda, salt, and apple pie spice.
In a large bowl, whisk together 3/4 c of brown sugar and oil until it's combined. Then whisk in eggs, one at a time.  Whisk in applesauce and vanilla, mix well.
Then add the four mixture in 2 batches, alternating with buttermilk (or yogurt), whisk until well combined.  Gently stir in apple chunks.
Scoop batter into muffin cups. Top with brown sugar, cinnamon, & pecan mixture.  Tap the pan on the counter to remove air pockets.
Bake for 20-25 min, until golden and toothpick comes out clean.  Let cool on a wire rack, for at least 15 min. Remove from pan & enjoy!!

Monday, January 6, 2014

The Layered Look

With the fickle weather we've been having, this morning felt like spring and now it reminds you of the winter season we are actually in. For indecisive weather, the best approach to outdoor workout gear is layering. This way, you can peel off each layer as you warm up and replace them as you cool down, and not keep yourself trapped inside just because of the weather. Basic layers consist of 3 parts:

Base layer. Fabric closest to your body (including underwear) needs to wick away sweat so it can evaporate and not leave you soggy. Avoid cotton because it soaks up perspiration but doesn’t allow it to evaporate. Try polypropylene or silk materials for colder weather and polyester microfiber for warmer days.

Insulating layer. On colder days, this layer provides warmth with the option to remove it when you get going. Wool, fleece, or pile are good choices. If it’s really cold, try down.

Outer layer. For wet or windy days, this layer needs to have the seemingly magical ability to breathe and allow moisture to evaporate from your skin, yet keep out the elements. This is not your average rain slicker. Look for a jacket made with a polyester blend or specially treated fabric, such as Gore-tex®, that will hold up to the weather.

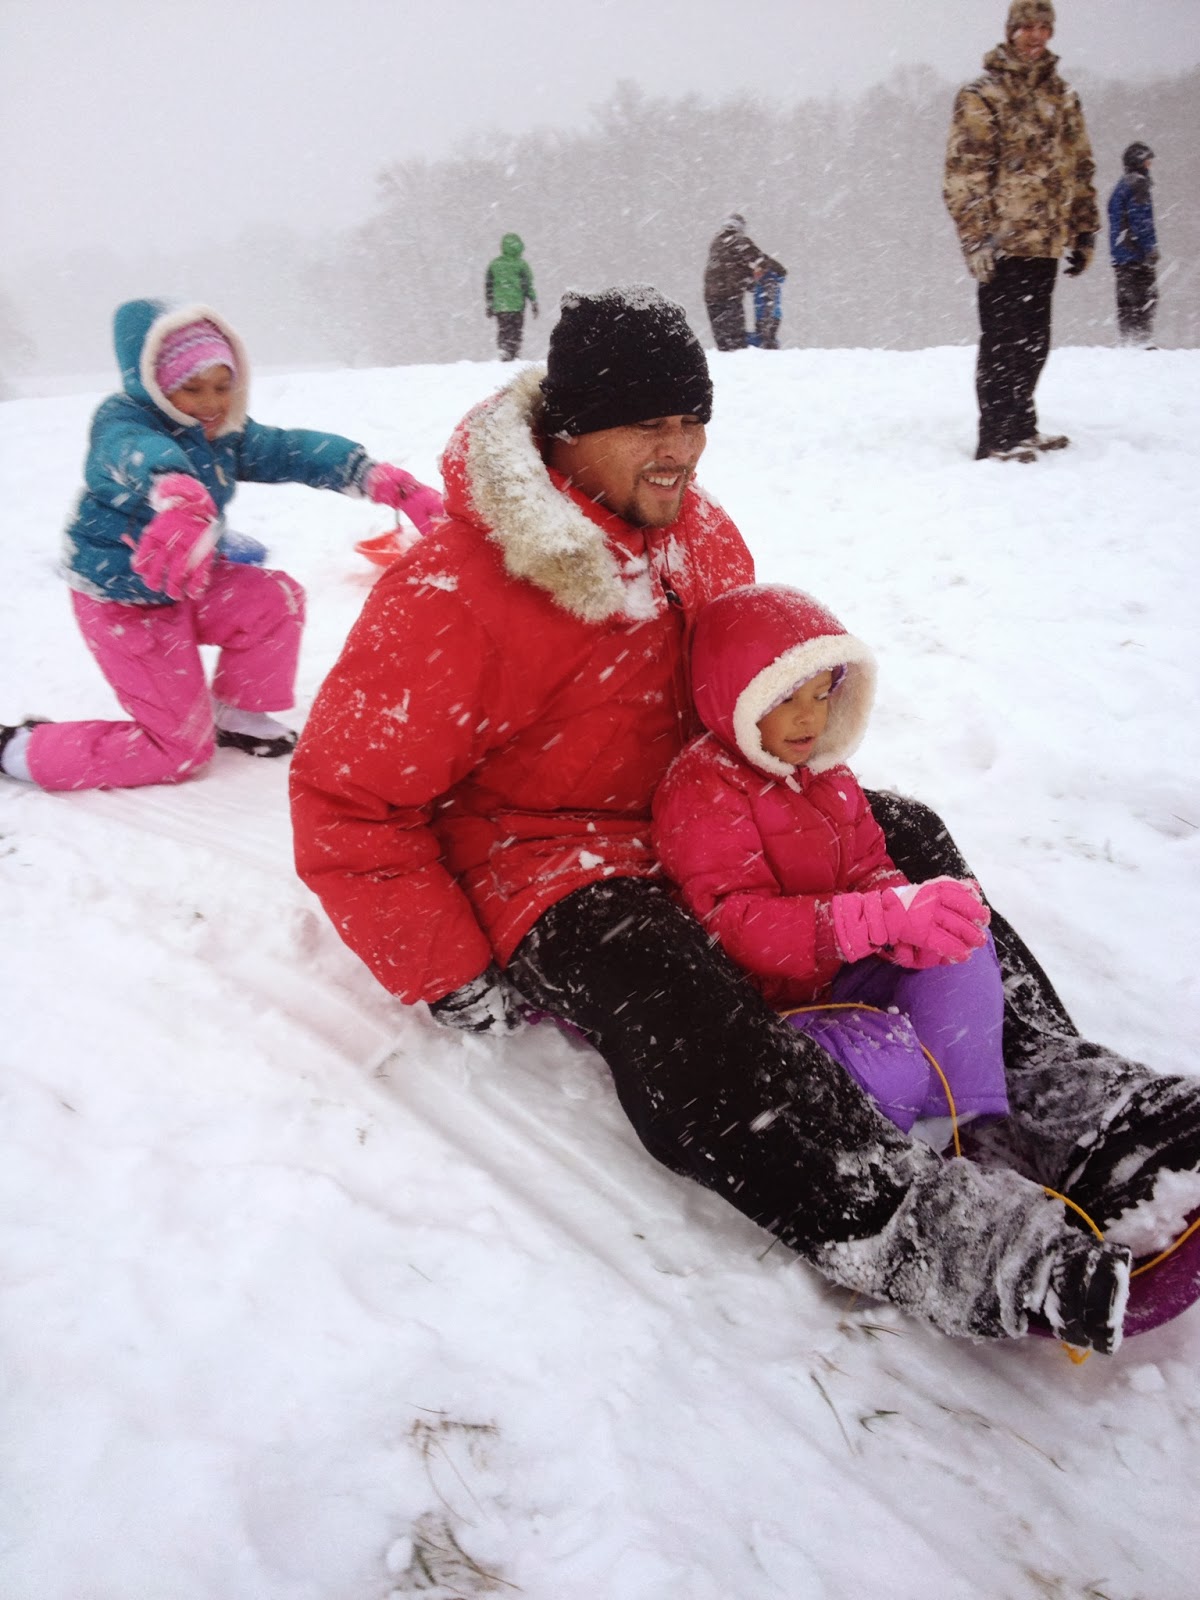
**Don't forget your hat, gloves, and face mask for really cold, blustery days.  If you're looking to run/walk in the snow, there are special shoes and/or spikes you can add to help prevent slippage.  These layers also apply when sledding!
Stay warm out there, and remember... “There is no such thing as bad weather, only inappropriate clothing.” — Sir Rannulph Fiennes

Thursday, January 2, 2014

Turkey & Broccoli Casserole

Coming off of the Holidays, I've been looking for quick and easy recipes to make.  I had a bunch of meat leftover from Christmas dinner, so I carved, chopped, and froze it in 1 lb portions to use in future recipes.  I used leftover ham in my New Year's Blackeye Peas, and I chopped up leftover turkey for turkey croquettes and this recipe... Turkey & Broccoli Casserole.

Turkey & Broccoli Casserole
Serves 6, 60 min

Ingredients
1 c uncooked brown rice, (if using long grain, rinse and soak for 15 min)
1 can Cream of Chicken soup
2 c water
1/4 tsp dried thyme
1/4 tsp ground sage
1/4 tsp dried rosemary
1 lb cooked turkey (chopped leftover holiday turkey or seasoned ground turkey)
Salt & pepper
3 c frozen broccoli florets

Directions
Preheat oven to 375 degrees
Combine all ingredients in a shallow baking dish.
Bake for 60min or until rice is tender.


Wednesday, January 1, 2014

New Year's Blackeye Peas

Every New Year's Day, it's been a tradition in my family to eat blackeye peas and collard greens, for good luck and wealth.  So, I have tried to figure out how to make them, without my grandmother's recipe.  I have also tried to figure out how to use all of the leftover meat from Christmas Dinner, especially when we are all tired of leftovers!  So, I carve and chop the leftover turkey and ham, and freeze them in 1lb portions for future recipes... Like New Year's Day Blackeye Peas!  Here's my recipe, I hope you enjoy it as much as we do, and I hope it brings you good luck too!

New Year's Day Blackeye Peas
Serves 8-10, total time 17+ hrs, 60 min hands on

Ingredients
1 lb Blackeye peas, dry beans
1 lb Leftover Ham (or turkey legs)
2 c low sodium chicken broth
6 c water (plus 8c for soaking)
1/2 sweet onion, chopped
1 tbsp garlic powder
Salt & pepper

Directions
Sort peas, then rinse peas.

Soak peas for 8hrs or overnight, in 8 cups of water.
Next morning, drain peas.  Add chicken broth and water to a cast iron Dutch oven.  Then add ham and onions, bring to a boil.
Add peas, then boil for 5 min.  Turn down heat to medium-low, and simmer for 6-8 hrs, until desired tenderness.  Then add garlic powder, salt, and pepper, simmer for another 30-60 min.
Serve over brown rice with a side of collard greens... Yum!  Happy New Year!!
P.S. I also use extra ham in my collard greens!